Live Comments
Who can use this feature
Site Admin, Channel Admin, End-users
Supported features: Videos, Live Events, System Pages
Introduction
Video Tutorial
Activate Live Comments
Before you can access the ‘Live Comments’ feature you'll first need to check that it’s enabled in 'System Pages'. If you do not see Live Comments listed in Live Event Player Page that means it has not been activated on your site.
Please contact sales@vidflex.com to learn how to enable the live comment feature.
Login to Platform's Back End
In order to activate the Live Comment Feature on your event you will need to login to the platform and access the back end
- On the top right corner of the header menu select ‘login’ – proceed to login as usual
Toggle On/Off
- In the back end of the platform, click on the 'Pages' dropdown menu on the left hand side
- Select 'System Pages' and then click on the 'Live Event Player'
- Select the 'Live Comment' tab on the left hand menu
- Toggle the State ‘on’
- Click 'Save'
To disable the Live Comment Feature, complete the above steps from 1-3 and toggle the state to ‘off’, remember to hit 'save' when done.
Override System Page Default Setting
In the 'General' tab of any Live Event container, you can manage the use of Live Comments individually and override the System Page default setting by following the steps below
- In the Live Comments box choose to use or override default settings
- Toggle the state on or, off
- Hit 'Save' at the bottom of this screen to update your changes
You can quickly access the System Pages default setting by clicking the 'Edit Default' link in the ‘Live Comments’ box.
Moderator Role
The moderator role is assigned to the Site Admin accounts you provided during the setup phase for this feature on your site. If you need more moderators for your site or you don't remember your moderator account please contact Support at support@vidflex.com.
Add A New Moderator
The steps below are completed on the back end of your platform. After completing these steps, additional administration is required on the back end of GraphComments.
- In the 'Channel Settings' left menu, select 'Users'
- Select 'Management' in the dropdown menu
- If the user has been added as an administrator proceed to step 5
- If the user is not registered you will need to add them as a new user, click on the 'Add New User' button and proceed by completing the required fields, ensure their access role as 'Site Admin' is applied
- Contact Support to complete adding the moderator to the GraphComments site. Our team will show you how to use GraphComment so you can manage your own moderators.
Deleting A Moderator
Removing the moderator role from an admin on your site has to be done in the GraphComment portal.
Login to GraphComments: simply click on the "Managing your website" from the live comments profile settings.

- When viewing from the GraphComments portal, click on the upper Settings tab
- In the sub-navigation click on Moderation
- Look under the Moderators section and click the button beside the moderator you wish to remove
Using Live Comments
There are two ways to log in, the single sign on feature means once you’ve logged into the platform your user account will automatically be logged into ‘Live Comments’.
Single Sign On also applies to all registered users on your platform.
- On the top right corner of the menu ‘login’ – proceed to login
Or in the video player page sign in on the Live Comment area underneath the player, click the signup button and you will be taken to the login page – proceed to login


Before you start using...
- The library container (VOD or Live) must be in a ‘published’ state in order for the Live comments to appear on the video player page
- Once the comment feature is activated and the live event is published you and your audience can begin to use the feature right away
- Live Comments does not require action to 'start' or 'end' the session
Access from the main library
- In the 'Channel Settings' left menu, go to the 'Library' tab
- Edit an existing Live Event or create a new one
When ready, on the top of the container click on 'View Content On Site' button. You can also access the live comment feature on the front end by selecting the live event video in the video slider

When viewing the Live Event Player page verify that you can see the live comment section below to the video player
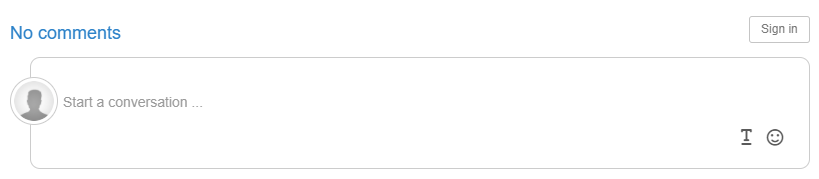
- Start adding your comments!


Access from a video slider
Look for the video container in a video slider, and then click on its thumbnail to access its page.

When viewing the Live Event Player page verify that you can see the live comment section below to the video player
- Start adding your comments!

User Settings
Filter Options
You can sort the posted comments with the drop down menu on the left hand side with the following options:
- Relevance
- Newest
- Oldest
My Profile and Settings
You and your audience are able to add, edit and change your own profile with the following options:
- Name, title, social media, biography, detailed activity (comments/votes) – view full profile
- Settings: Default number of response levels open to page load: auto - 10
- Language: English or French
- Default Sorting: relevance, newest or oldest
- Email notifications: Receive an email when someone replies to your comments
Your profile also contains your previous comments and in this section you can:
- See
- Share
- Delete
Viewing from a Live Event
There are two tabs, one for the video information, and the other for ‘Live Comments’.
Select the ‘Live Comments’ tab to start using this feature.
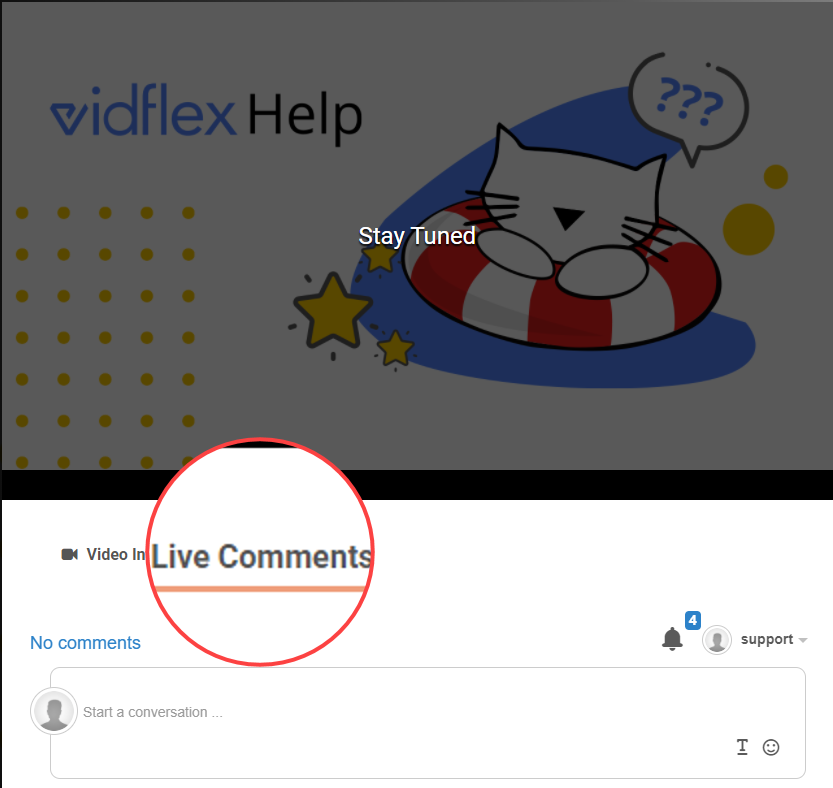
VOD containers do not have these tabs. You will see the live comments section right under the video player by default.
Guest Users
The ability to send a comment as a guest or sign in/sign up is available to your audience. As they are not registered as a user on the platform they are able to participate with some limitations. Once a guest begins to comment they will need to add a user name and associated email. A message will appear as their credentials are not used to create a GraphComments account or profile.
GraphComment Optional Settings
All of the settings below are optional and can be configured directly in the GraphComment portal.
To access your GraphComment account, simply click on the "Managing your website" from the live comments profile settings.

Next, when viewing inside GraphComment click on the upper Settings tab.
Note that changing settings in the GraphComments portal save automatically.
| FILTERS | Enable, disable, add, restrict or ban certain words or comments |
| APPERANCE | Change theme colors and other branding elements |
| LANGUAGES | Add multiple languages options which your users can access. Users have the ability to select their language depending their location and preferred language |
| AUTHENTICATION | Single sign on for all users (DO NOT CHANGE THIS SETTING!) |
| EXPORT COMMENTS | Export comments for analytics and detailed information on participants |
| ALLOW COMMENTS CONTAINING LINKS | Moderate the ability of sharing links with comments |
| BAN | Apply permanent or temporary bans for participants |
| NOTIFICATIONS & EMAILS | Enable or disable real time notifications |