Community Upload
Who can use this feature
Site Admin, Channel Admin, End-User
Supported features: User Management, VOD
Introduction
The Community Upload feature allows for any end-user who has been added to it to upload one of their own videos to your platform from the front end of your site. Once approved and published the video is managed like any other video would be on your platform.
Opening Community Upload
- Let’s start by logging into your portal
- Locate the “Community Upload” feature on the left-hand side of the back end page under Channel Settings
- Once inside Community Upload, you will see different submenu options: General, Upload Configuration, User Access, Groups Access, Notifications List, View Pending Videos.

General
You now have more ability to customize and manage the Community Upload front end page through the options below.
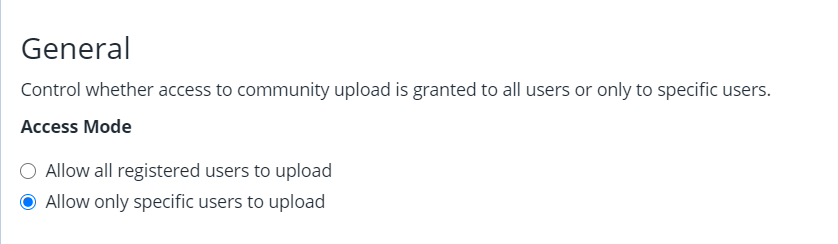
Access Mode
You can choose to grant permission to upload a video either to all the registered users on the platform or only the specified list of users added to User Access.
Upload Page Title & Instructions
Add a personalized message to greet the uploader and provide instructions on how you would like them to use this feature.

Upload Complete Title & Instructions
Add a personalized message to the uploader after they have completed uploading their video and any next steps that you would like them to know. Make sure to Save your changes.
Upload Configuration
Video Tutorial
The topics included in this video are:
- Video Encoding settings
- Video Approval workflow
Approval Settings
Auto Approve Community Uploads by toggling the setting to on. This means that as and admin / approver you have the ability to set uploads to be approved automatically or not.
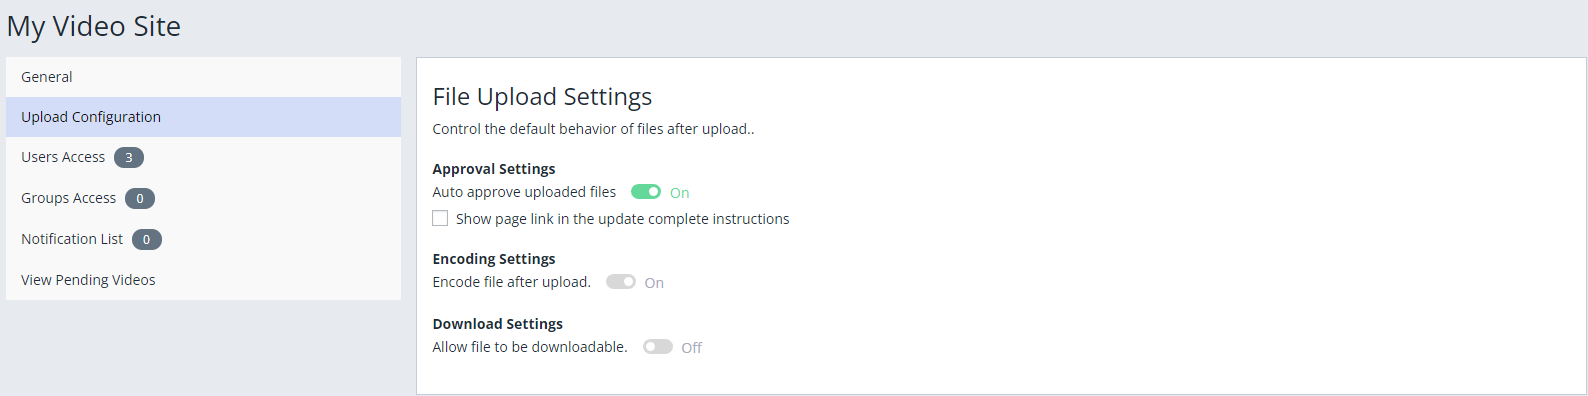
- The auto approve settings is disabled by default
- If Approval Settings is enabled:
- That turns on the 'Encoding Settings' toggle as well as the 'Download Settings' toggle below it too
- the ‘Encoding Settings’ is greyed out however by this action, where-as the ‘Download Settings’ can still be manually toggled
- That turns on the 'Encoding Settings' toggle as well as the 'Download Settings' toggle below it too
- If Approval Settings is disabled AFTER being enabled:
- then 'Encoding Settings' is left enabled but can be manually toggled, but 'Download Settings' is disabled by this action
- Show Page link checkbox, if enabled allows the user on the front-end, upon the video completing its upload, to view the video's player page by clicking a 'View Video Now' link, which displays on the final page of the Community Upload upload process.
Encoding Settings
Choose whether you want an uploaded video through the Community Upload feature to start encoding immediately, just like it does when you as the Administrator upload directly in your library, or to wait until you’ve had a chance to review it first.

By default the encoding is enabled however you can disable it by toggling the setting on or off.

Download Settings
You can make every video that gets uploaded through Community Upload feature to be downloadable by toggling this setting to On or Off.

If the encoding settings is enabled and download settings is disabled, you cannot make the uploaded video downloadable after it has been uploaded.
If the encoding setting is disabled and the download setting is disabled, you will be able to make the uploaded file downloadable before choosing to accept and encode the file. This is all done inside the video container “Approval” tab.
User Access
This area provides space for you to add any verified user on your platform to use the Community Upload feature. Use this option if the requirement is to add one or more users.
- Start typing in the user’s account email address in the ‘Enter email address’ field
- Select their email when it pops up and then click on Add User
- Once the user has been added you will be able to see the user’s Email address, Date Approved, and an option to Remove the user from the list

Group Access
If the requirement is to add a group of users to be able to contribute to your library, then use Group Access. To allow a group of users, a group has to be created first.
- To create a user group, select ‘User Groups’ option from the Channel Settings left-side menu
- Click on ‘Add User Group’ to start creating your group of users, and ensure the group is enabled
- Once the group has been created remember the name
- Go-to Community Upload, > Group Access submenu, and type the name of the user group under the “Add Approved Group” field
- Once the group name has been entered and selected, click on Add Group
- The group will be added and you will be able to see the Name, Date Approved and an option to remove the group from the list

Notification List
In the Notification list option, you will be able to assign specific users (Admins) by entering their email address into the required field and then clicking Add User. They receive a notification as soon as an approved end-user uploads a video to the platform, so that it can get approved and managed like any other video.

View Pending Videos
This option is to review the videos that have been uploaded by the users on the platform. As soon as you click on the ‘View Pending Videos’ it will redirect you to a library page showing the list or a video pending to be approved. Click on the ‘Edit/Pen’ icon to select the video, you will also be able to see who uploaded the video directly from the list view.

- Clicking the Edit pen brings the admin inside the VOD container management page, and it will be just like any other VOD container you have in the library.
- In this VOD container, you will be able to change the ‘Title’. By default the title name would be the user’s name who uploaded the video. You can also change the description. Different attributes and categories can be assigned as well.
- You can publish the video by changing the state of the video from ‘Needs Approval’ to ‘Published’.
- Click ‘Save’.
Front End Video Upload
Video Tutorial
The topics included in this video are:
- How to upload a video as a normal user from the front end
Upload Video
After a user or group of users has been added to your platform's Community Upload feature, they can now start uploading to your site.
Once logged in, click the profile drop-down icon located at the top right-hand side of the platform. When clicked on they will see the Upload Videos option.

When selected, the user will be directed to a new page. They are required to:
- Select the Channel
- Enter a Description about the video
- Select File to upload a video
- Click on Upload Video

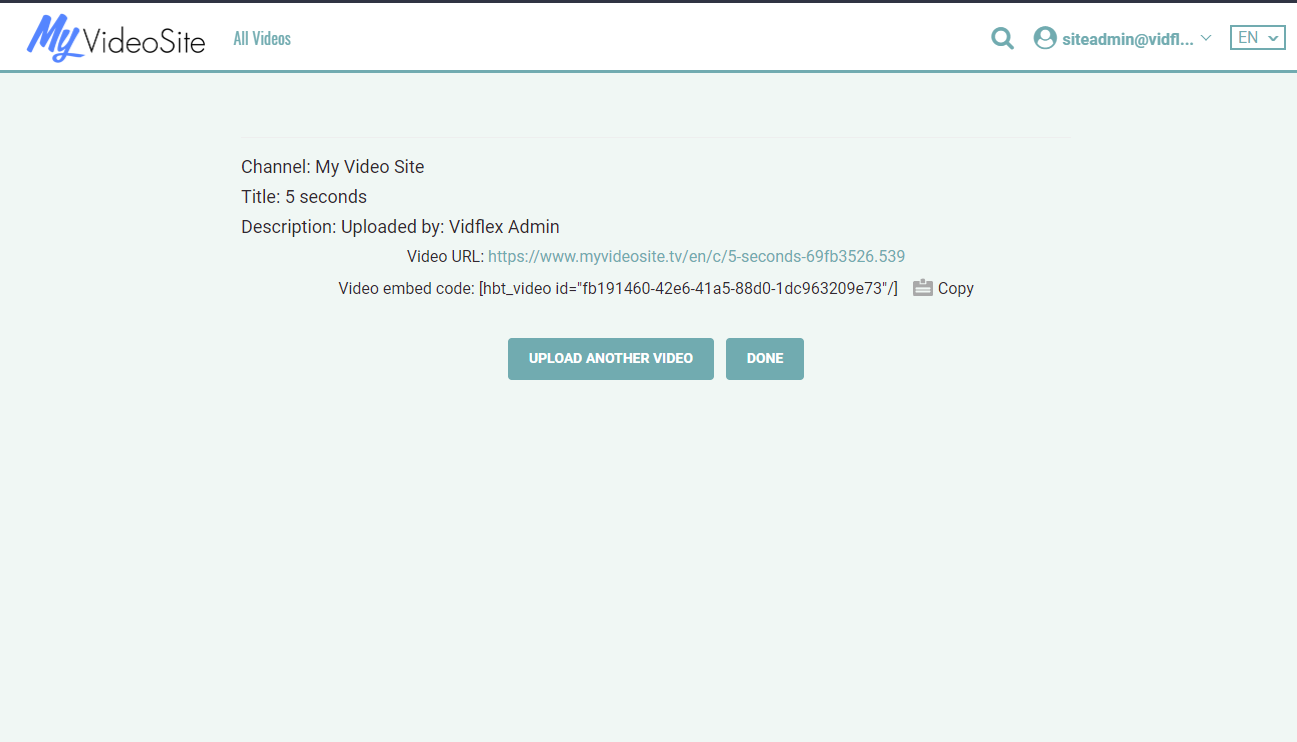
File Uploaded
After the video is uploaded by the user they are given the option to either UPLOAD ANOTHER VIDEO to repeat the process or to click the DONE button.
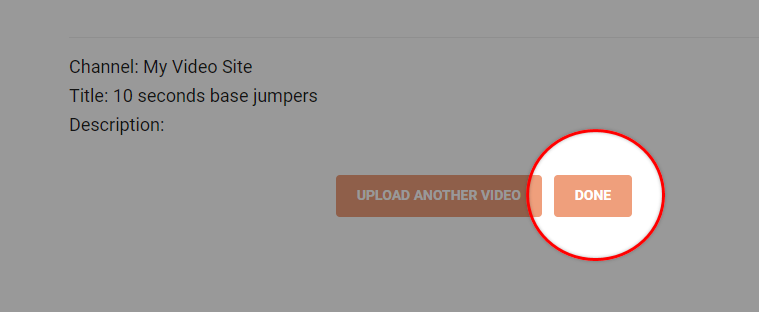
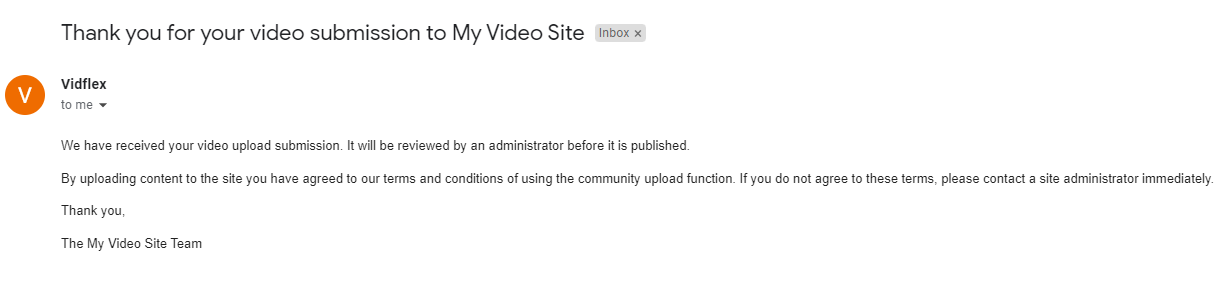
The user is provided with a notification that the video has been submitted and will be reviewed by the administrator before it gets posted on the platform.
If the Show Page Link checkbox was enabled when configuring the "Approval Settings" in the back end, it will allow the user to view the video's player page by clicking the 'View Video Now' link, which displays on the final page of the Community Upload upload process.
Approver Email Notification
At this point, the users who have been assigned to the Notification List will get a notification that a video has been uploaded. They can review the video and choose to publish or reject it.
There will be a link provided in that notification email for quick access to the video
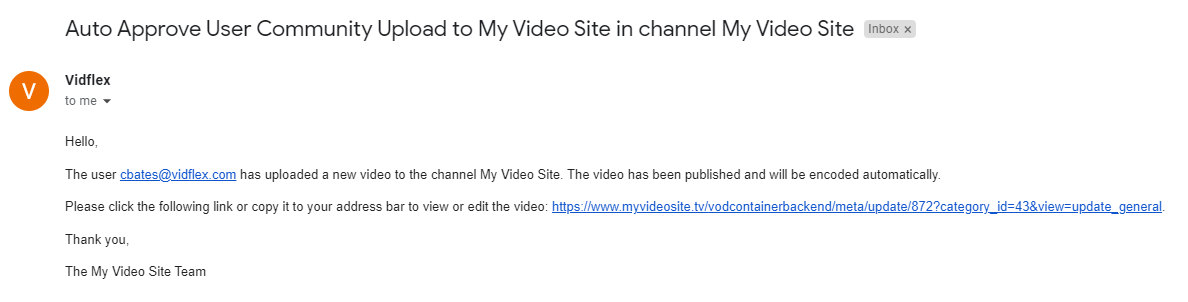
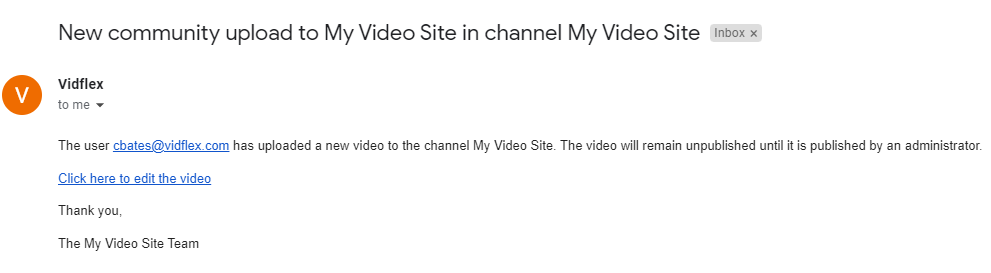
There are two email notification templates that the admin will receive depending on whether the auto approve setting is enabled or disabled.
Auto Approve Enabled Email
Auto Approve Disabled Email
Uploader Email Notification
A notification is sent to the uploader indicating the site has received their upload submission. There are two email templates based on whether the auto approve is enabled or not.
Auto Approve Enabled Email

Auto Approve Disabled Email