User Management
Who can use this feature
Site Admins and Channel Admins
Supported features: User Accounts
Introduction
The User Management feature is where you'll see and manage the list of users who have signed up for an account on your Vidflex™ site. There are two main sections, Management and Registration Settings.
Opening Users > Management
Viewing the back end of your Vidflex™ site:
- Look under the left Global Settings menu
- Click on Users > Management
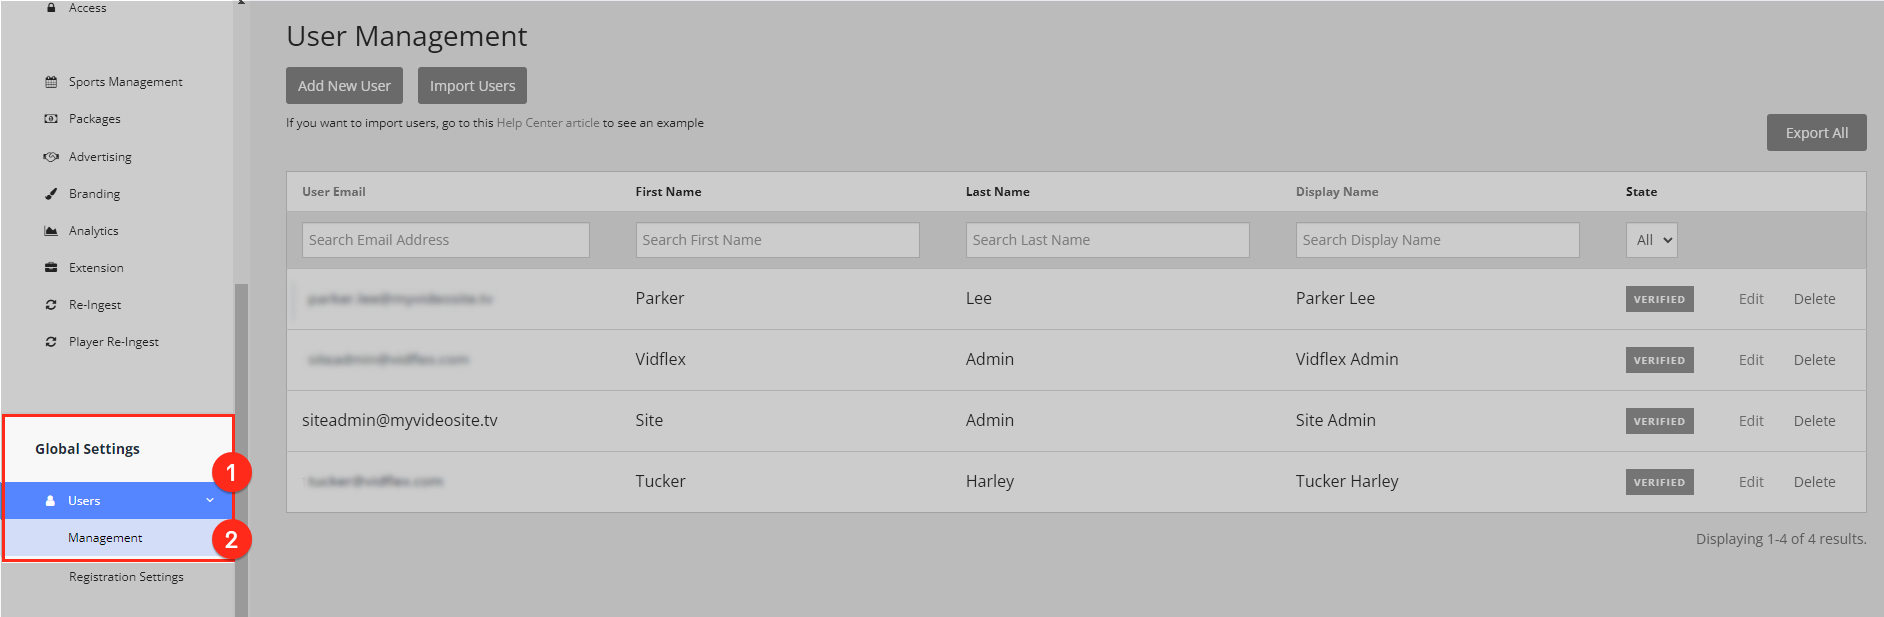
User Management Dashboard
The User Management dashboard is where you'll add, edit, import/export your list of users.
As a Site and Channel Admin you can create new users by adding them individually, and importing multiple users, saving you time.

Use the accordion table below to learn more about the User Management dashboard elements.
Used for adding one user at a time.
Used for bulk importing a user list via CSV file.
By using the Export button it will export a list of users in CSV format. See the "Export" section below for more information.
This field displays the user's email address. Clicking on the User Email link makes the user list sortable alphabetically.
This field displays the users first name. The column is not sortable.
This field displays the users last name. The column is not sortable.
This field displays the users display name which is required for using the Live Comments feature. Clicking on the Display Name link sorts the user list alphabetically.
Display users by their state. Can choose from All, Unverified, Verified, and Blocked to display those users on the screen.
Click to edit the user's profile information.
Delete the user's profile.
This action is irreversible. A deleted user can be re-created again using the Add New User or Import Users steps.
Types of Users
There are 4 user role types available. All role types have front end access to your site. Only the admin roles have back end access.
Roles
- User
- This is a normal user with front end access only to view.
- Live Event Operator
- Aka, 'LEO', is assigned to users who need access to your sites live event container details.
- Users who are assigned the LEO role are the users on-site who are operating a live stream.
- Channel-Admin
- Has full access to make changes to the sites channel.
- Channel Admins do not have access to the Branding dashboard and any Global Settings.
- Site-Admin
- Full site access and can make all changes to the site.
Adding/Exporting Users
The topics below cover how to add users individually and through bulk importing them through a CSV file upload.
Add New Users
- Click Add New User button.
Fill in the user profile details. Fields with an asterix '*' are required.
Some required fields can be changed in the Registration Settings dashboard
- First Name
- Last Name
- Email *
- The "Send account creation and password selection email to new user" option is selected by default.
Uncheck the box to override the email from sending to the user before clicking save.

- To manually verify a users account, uncheck the 'send account email...' , and then click the Verify User button.
To have the user complete the verification press the "Click here" link to resend the verification link.
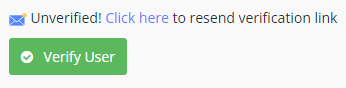
(Pro tip: use this link when troubleshooting your users during the account creation process)
- Display Name * (required if Live Comments feature is activated)
- Organization
- Select the user Role
- User
Site-admin
To add a Channel-Admin first create a normal user and then add them in Admins dashboard under Channel Settings.
- Block User: select Yes or No from the drop down
- This setting removes all permission from the user accessing the site.
- Click Save when ready.


Import Users
Supported file type: CSV
Import users is a great way to add a bulk list of users to your site rather than adding them individually. This feature will benefit organizations who are bringing over a list of users they've already acquired.
Before importing a list of users you'll first need to configure your own CSV import file. See our help article User List Import File for further instructions on how to configure this file and download a copy of the template.

- Configure import file as per your own requirements.
- Click the Import Users button.
- Select your User Import CSV file and click 'Open'.
- The system will start importing all the users from that file. If there was a mistake made on the CSV file an error will appear on the screen with indication of what to fix in your file.
- When the import completes processing. you'll see the list of users on the User > Management dashboard.
Exporting Users
Supported file type: CSV
Use the export function to download a CSV file of your user list.
- Choose what State of users you want to download by selecting from one of the available states. Leaving the state on 'All' will export all users regardless of what state they are in.
- Click the Export Users button.
- See the CSV file that was downloaded to your device.
The following information is available on the export user file:
- First Name
- Last Name
- Display Name
- Email Address
- Organization
- Marketing Consent
- Source (Created, Import, etc)
- Status
- Roles
- Created Date

User Insights
Easily manage users on your Vidflex™ site by viewing their User Information sub-menus. In the sections below you'll learn how to edit a users profile, see what permissions they've been given (user groups, restricted access, etc), guest passes, and any video uploads they've made through the Community Upload feature.
Profile
This section contains all the users personal information, i.e. name, email, role, etc. All the information found on this page can be edited.
Viewing the main Users Management dashboard, search for the desired user.
If you have a big list of users, search for their email using the User Email field.
- Click the users Edit button on the right side of the screen.
- The next screen will take you to the user's Profile sub-menu.
- Make the necessary changes needed.
- Click Save.
Permissions
In the Permissions sub-menu its easy to what information on your site that a user has access to.
Click on a permission tab below to learn more about it.
User Groups
This tab will display any user groups that the user has been added to.


Guest Pass
This tab will show if the user has been granted guest access to a subscription on your site.

Uploads
This tab is supported by the Community Upload feature. Any videos a user uploads from the front end of your site through Community Upload will be listed here.
Clicking on a video title here will take you to its configuration window.

Content Access
View what content a user has access to from the purchases they've made by going to the Content Access sub-menu.
If you do not see a dollar icon beside an item, that means it is included in the subscription the user has purchased. View the Subscription tab to see the same item and click on its dollar icon to view the transaction details for it.
Click on a content tab below to learn more about it.
VOD
This tab shows any VODs that the user has purchased. Click on a video title to view its configuration window.
Click on the dollar icon to view the users transaction record for the item.

Live
This tab shows any Live videos that the user has purchased. Click on a video title to view its configuration window.
Click on the dollar icon to view the users transaction record for the item.

Packages
This tab shows the Packages that the user has purchased. Click on a package title to view its configuration window.
Click on the dollar icon to view the users transaction record for the item.

Subscriptions
This tab shows the Subscription that the user has purchased. Click on the subscription title to view its configuration window.
Click on the dollar icon to view the users transaction record for the item.

Transactions
The Transactions sub-menu makes it easily view all purchase orders a user has made. If any orders have been made within the selected date range they will appear on the screen.
By default the date range will show the last 30 days.

Viewing a User Transaction
- If you know the Order ID or Total amount you can enter it in the relevant search fields, or filter by a specific state.
- Optional: the columns Created, Order ID, Total, and State sortable by clicking on them.
- Click on the View button to see the full details of an order.
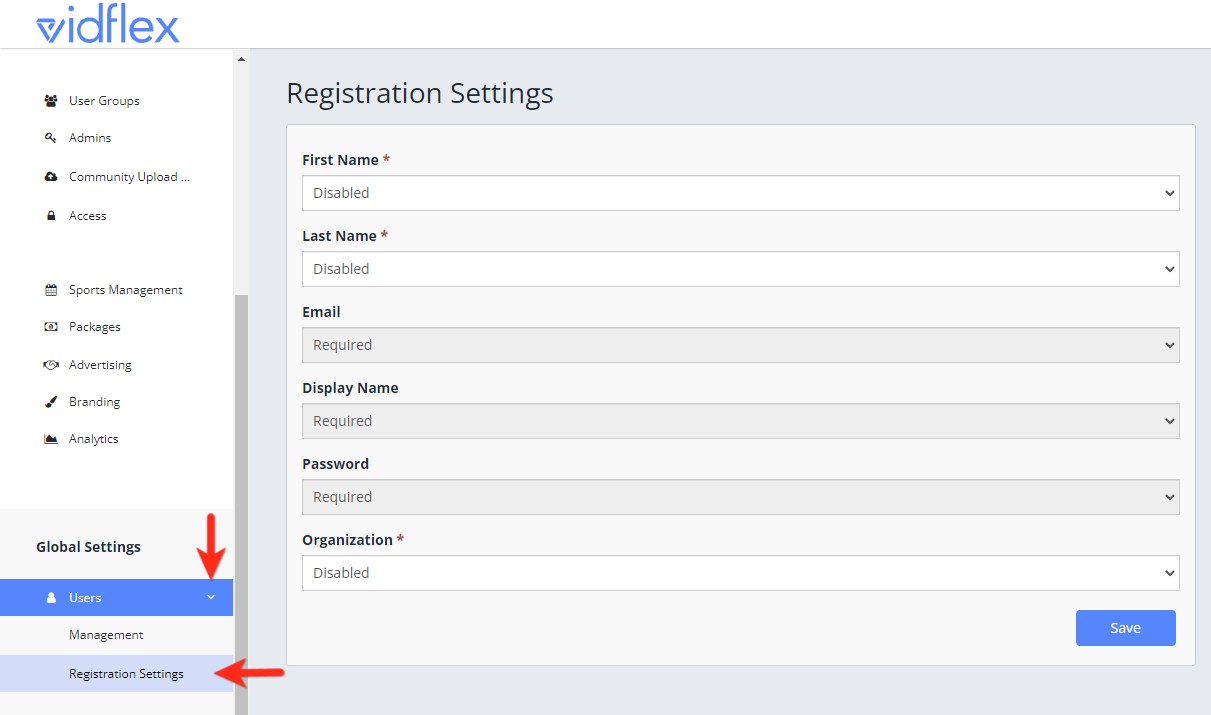
Registration Settings
There are additional configurations available in the Registration Settings section that can be enabled or disabled on the new user registration form. Some of these settings are not configurable because they are always required for creating a new user account, e.g. email and password.
Enabling or disabling any of those fields changes whether that information will be required when a new user registers a new account.
Configurable Fields:
- First Name
- Last Name
- Organization
Non Configurable fields:
- Display Name (this field is visible if Live Comments is activated on your site)
- Password
Steps
- To access Registration Settings, look under Global Settings in the left menu
- Click on Users, then select Registration Settings
- Select the desired field and change its state to either Enabled or Disabled
- When done, click Save
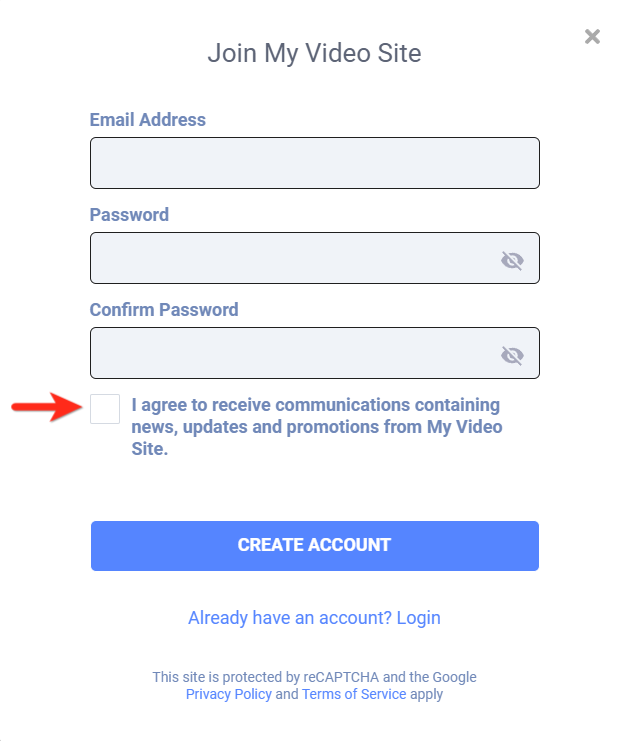
Marketing Communication
There is one optional setting for marketing communication that a user can agree to during the new account registration process.
To activate this feature on your site contact Sales
Once this feature has been activated, a marketing communication question will appear on the first stage of the new user account registration form for the user to check the box.
Checking the box means the user has opted in for any communications containing news, updates and promotions from your site.
Marketing Consent
To view who has provided marketing consent follow the steps below.
- Go to the Users > Management screen
- Search for a specific user or click on any users Edit button
Viewing the Profile submenu there is a display for Marketing Consent at the bottom of the form. Underneath it will show whether the user has opted-in or opted-out
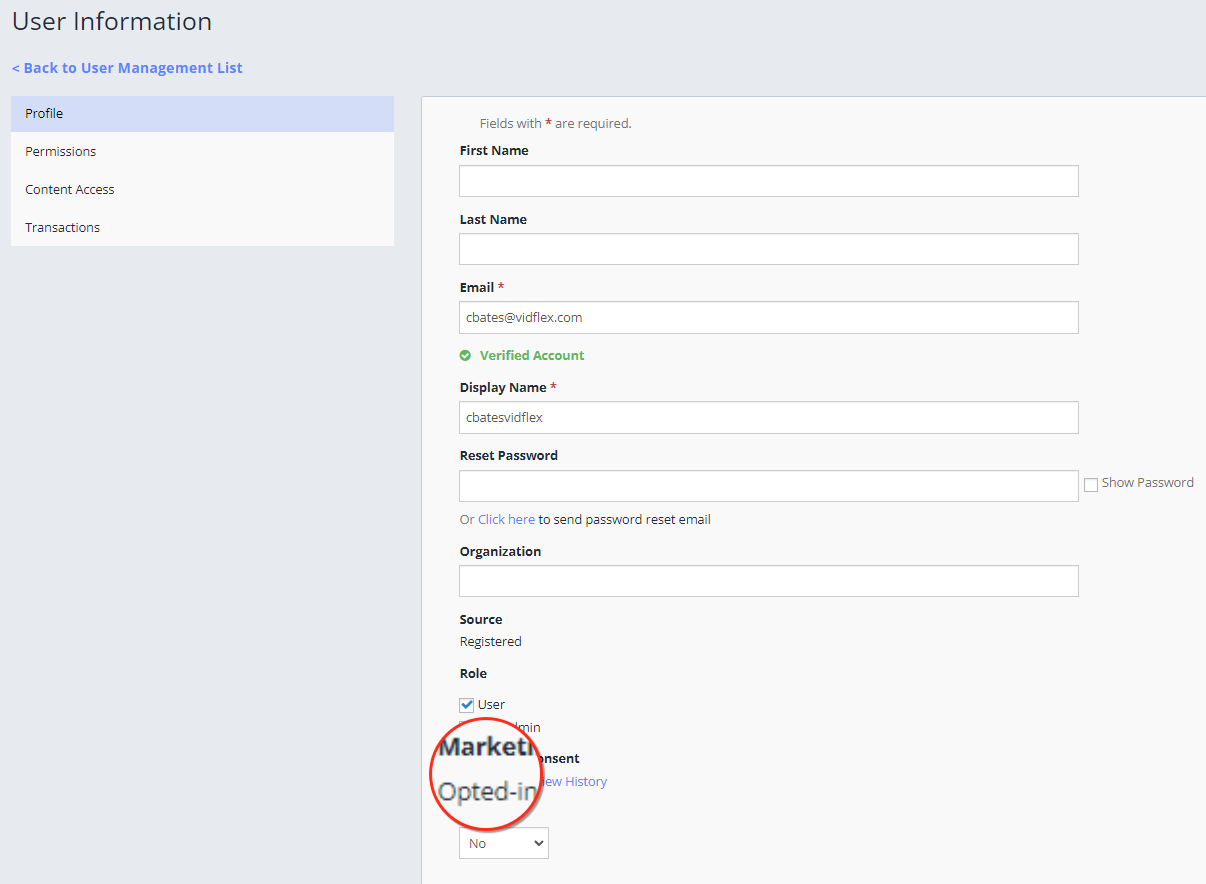
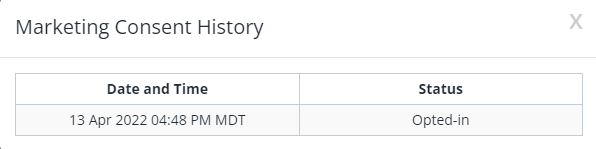
Click on the View History link to see the date and time of when the user changed their marketing consent status


Updating Marketing Consent Status
All users can update their marketing consent status by viewing their My Account profile settings.
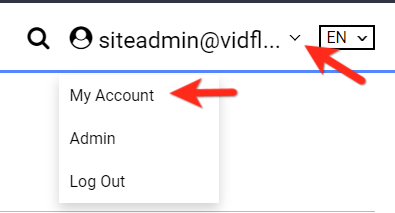
- Viewing the front end of the site, click on the profile icon in the top right header
Select My Account
On the next window scroll to the bottom of the page and check or uncheck the box for Marketing Communications

- Upon making a selection it will automatically save

