Access Rules
Who can use this feature
Site Admin, Channel Admin
Supported features: User Pages, Videos, Live Events
Introduction
User Access rules enable an admin to apply restrictions to the content on their platform. There are several ruling types to choose from, which can apply to a channel, a page or a video library container.
Access Rules Overview
Open the Access Rules Tab
You can access the Access Rules tab in the back end of your platform in a video container from the Library while editing Videos, Live Events, and User Pages.

Types of Access Rules
Use the tables below to learn more about type of access rule.
Some rules only apply to video containers, and not to a user page or a channel.
Public
The Public access rule is active by default everywhere on your platform. It allows anyone visiting your site to have access to the content or channel.
How to configure
- Select the radio button on the same line as the rule to activate it
- Done
Logged In Users
This rule only allows logged-in users to view content.
Private: When active, only logged in users will be able to find and see the video from the front end.
How to configure
- Select the radio button on the same line as the rule to activate it
- Under Private column, click the Disabled button to Enable the rule
- The rule will be set and ‘saved’ once this rule has been selected
Password Protected
Lock a video to only be accessible with a password that you create. When active, the viewer will be redirected to the password protected page to enter the password you created to proceed. Users do not have to have a registered account on your platform to use the password and watch your content.
Share the password you’ve set with viewers at your discretion.
How to configure
- To apply this rule, click on its Configure button
- Set a password and click Save
- Back on the Access Rules page, the configure button will be green meaning the rule has been configured
- Select the radio button on the same line as the rule to activate
Purchase Content
Users must purchase the video prior to viewing it. Once a Pricing Rule is applied and enabled, this rule is automatically selected.
How to configure
- To apply this rule, click on its Configure button, or go to the Purchase tab submenu.
- Set a single purchase Pricing Rule
- Click Save to complete
- Click on the Access submenu to get back its screen
- The configure button will be green meaning the rule has been configured
- Select the radio button on the same line as the rule to activate
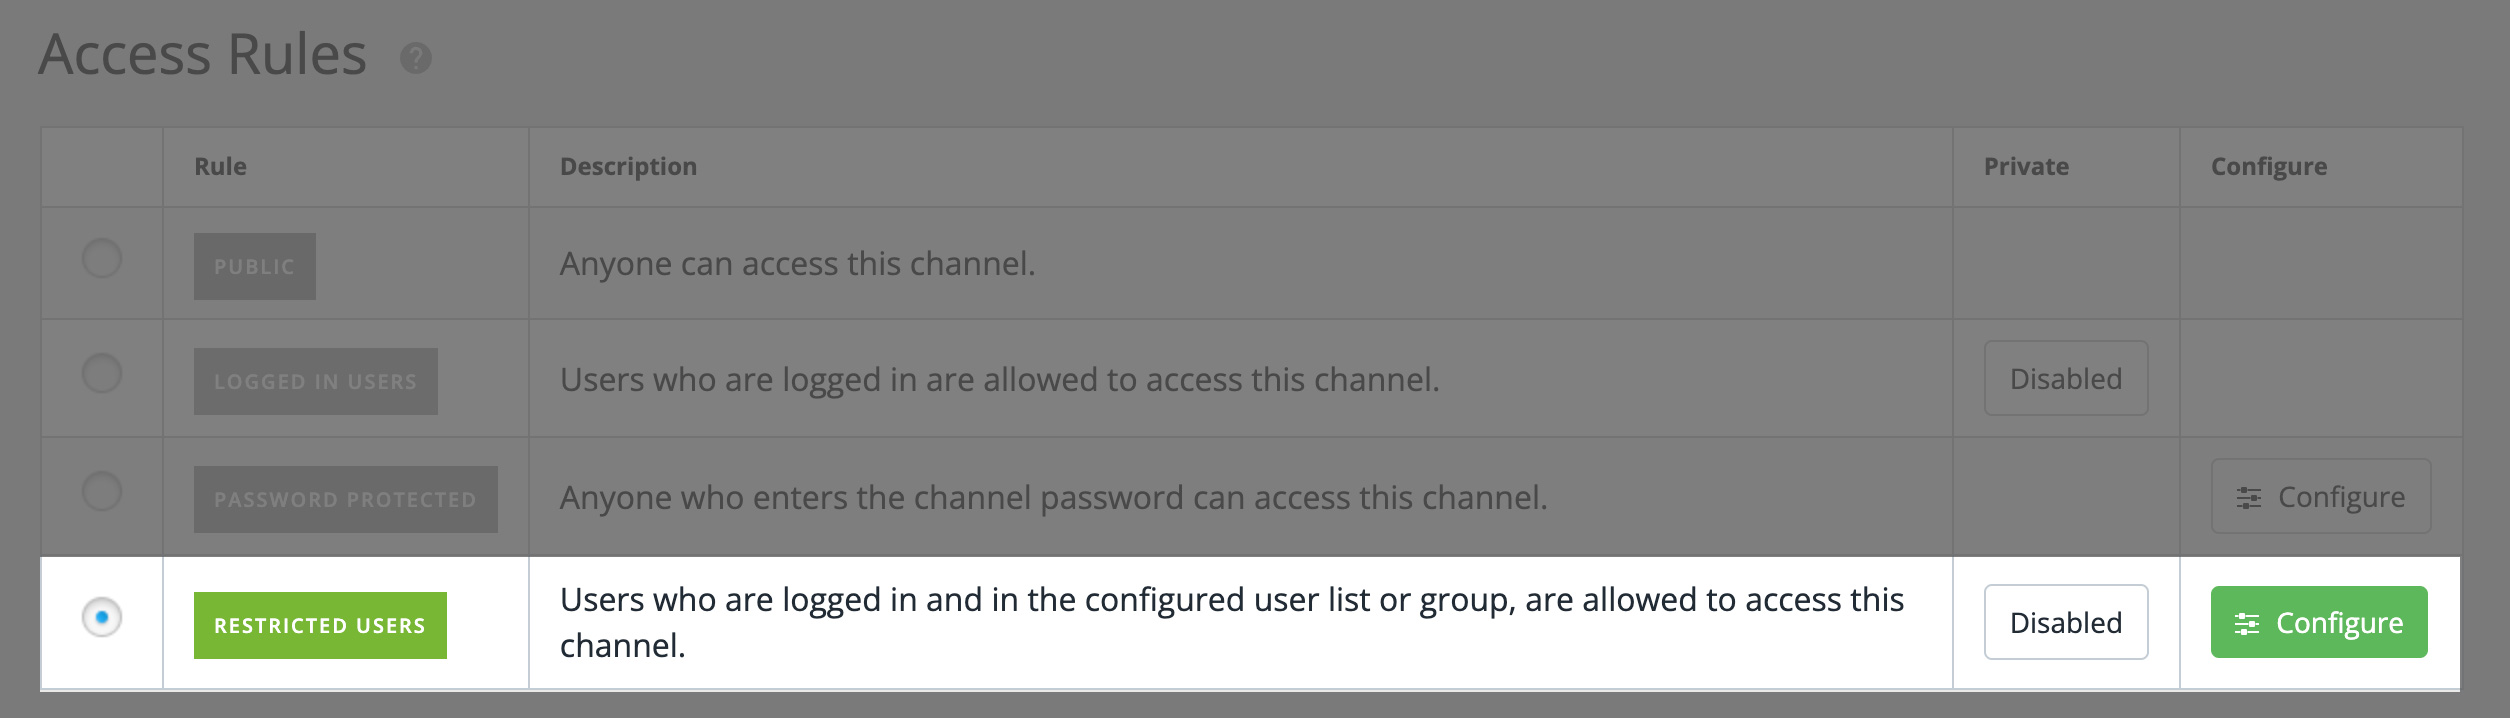
Restricted Users
This rule only allows users who are logged in, and in the User List or Group to access the content.
Private mode: Hide the video thumbnail from being seen anywhere on the front end. When active, only logged in users who are listed in the Restricted User Rule can access the content.
How to configure
- To apply this rule, click on its Configure button
- The Restricted Users page will open with two tabs:
- Add Users
- Add Groups
(A) Add Users Tab:

- Type a user's registered email or portion of their email address, and select it from the drop down list
- You can add a brand new user here by typing in their full email address
- Click the Add Users To Restricted Users button to confirm
- The user will be added to the list
- An email will be automatically send to the user notifying them of their free access to this video container
- Click on the blue Email button to manually send the email again if needed

- Email: Users email address
- Date Assigned: When the user was added to the list
- State: Active
- Remove: Individually Remove a user from the list
- Click the Remove button on the same line as the name
- A confirmation pop-up window will appear, click OK to proceed
(B) Add Group Tab:
Add a user group of users to the restricted list.
A user group must be created prior in User Groups Learn More

- Click Add Groups tab
- In the Groups field type the name of the pre-defined user group
- Select the user group from the dropdown list and click on the Add Groups to Restricted Groups button
Once added the following information is available:
- Name: Group Name
- Date Assigned: When the user was added to the list
- State: Enabled
- Remove: Individually Remove a user group from the list
- Click the Remove button on the same line as the group name
- A confirmation pop-up window will appear, click OK to proceed

Enabling 'Private' mode
Actions located in the Private section of the dashboard
- Click on the Disabled/Enabled button to change it
- Status:
- White = Disabled
- Green = Enabled
- Select the radio button on the same line as the rule to activate it
Video Access Rules
Watch the video below to learn how to configure Access Rules on a video container level.
Available Access Rules for video containers:
- Public
- Logged In Users
- Password Protected
- Purchase Content
- Restricted Users
- Email gate
User Pages & Channel Access Rules
Watch the video below to learn how to configure Access Rules on the site Channel.
User Pages
Available Access Rules for User Pages:
- Public
- Logged In Users - private listing not available
- Password Protected
- Restricted Users - private listing not available
Channel
Available Access Rules for User Pages:
- Public
- Logged In Users - private listing not available
- Password Protected
- Restricted Users - private listing not available
On a multi-channel platform you can set access rules by individual channels.